How to Insert Image in Excel Cell Using Formula
Excel is a wonderful application, with this tool you can view, edit, share and create spreadsheet files, perform work related to audits, accounting and even finance. Excel can be a bit complex, for example many users don't know how to insert picture in Excel into cell or with formula .
When you want to insert any kind of picture in excel sheet, the picture is on top of the cells, that is, it stays floating on spreadsheet.
When conditional inserting a picture in Excel, it does not belong to any of the cells in our worksheet, and so here we will explain how to insert a picture into a cell Excel , in the appropriate manner.
Process to insert picture into Excel cell
In this section it will be explained in a very simple way how insert any image in an Excel cell. If you haven't installed Excel yet, you can download this powerful tool at the following link: Download Excel from its official website .
Si Excel is already installed and functioning optimally on your computer, you can now follow the following instructions, to insert a picture in the correct way in a cell of a worksheet.
Insert a picture in an Excel spreadsheet
The first thing to do is to insert a image in the worksheet, to do this, the following steps must be followed:
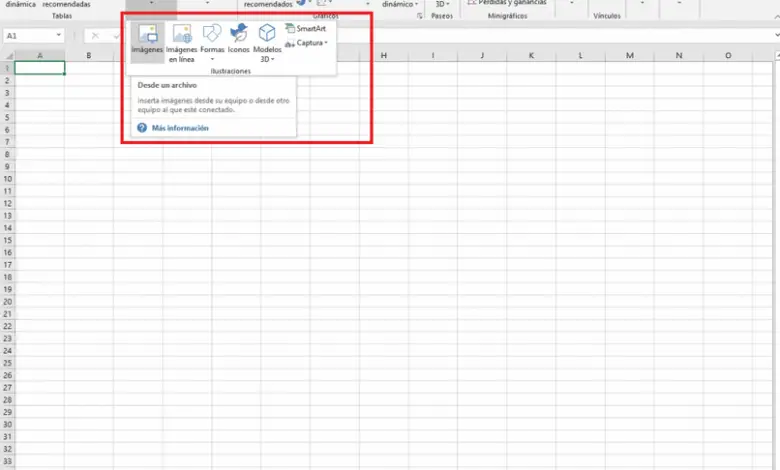
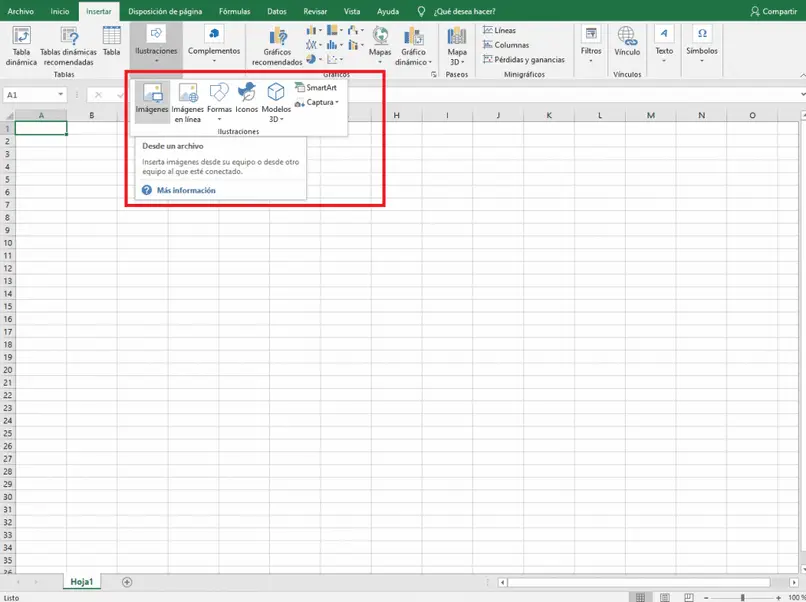
- We locate the tab Insertion , it is in the top Excel ribbon, next to this option it is between the tabs Home et Page design .
- After selecting the option Insert , we have to click on the Image option.
- Finally, we select the image we want to insert, this image must be saved on the computer, in order to select it at insert .
Crop the image in a cell
Once we have the picture that's going to be inserted in a cell , we need to delimit it in relation to the cell in which we are going to insert.
To do this, you just have to change the size of the image to what you want, then position the image on the cell , ideally to place it in the center of it.
Inserting a picture into an Excel cell
Once the image is in the center of the cell, you need to right click on it and select the option Size and properties . After selecting the mentioned option, the Properties tab should be selected, three different options will be displayed, these are:
- Move and resize cells .
- Move, but don't resize cells.
- Don't move or resize with cells.
The first option should be selected, so that when the cell size is changed, the image is changed, and in this way the picture is already inserted in the cell that we have chosen to place it. Likewise, they can be made with any images you want to add in the excel sheet.
The advantage of performing this type of action for insert pictures into a cell Excel is that you can create tables with different product data with their respective images and if cells need to be ordered from smallest to largest or alphabetically, the images will also be moved with Regarding the cell in which they are inserted , this is undoubtedly a great help.
We hope this step by step tutorial on how to insert picture in Excel into cell or with formula has helped you. If you want to know more about Excel , check out our article on how to freeze rows and columns in Excel.

How to Insert Image in Excel Cell Using Formula
Source: https://www.informatique-mania.com/en/applications/comment-inserer-une-image-dans-excel-dans-une-cellule-ou-avec-une-formule/
0 Response to "How to Insert Image in Excel Cell Using Formula"
Post a Comment